
Godaddy enables Windows, Plesk and Managed WordPress users to create a user.ini file and edit upload_max_filesize, memory_limit, max_execution_time and more.
NB: This tutorial is only for users who have Windows, Plesk and Managed WordPress servers with Godaddy. If you are using anything else you must use a php.ini file. Please see the How to get Godaddy’s PHP.ini file post.
It’s important to note that the .user.ini file refreshes every 5 minutes unlike the php.ini file which is instantaneous. So once you’ve made changes to it, you may have to wait up to a maximum of 5 minutes before they take effect.
Creating, populating and saving the .user.ini file
Access your hosting control panel
Once you login to Godaddy, click your name in the top-right hand corner. When the grey tab drops down, click ‘Manage your hosting‘ under ‘Control Panel links‘. On the next page like the big green ‘Manage‘ button on any of the websites you wish to manage the hosting for.
Create the .user.ini file
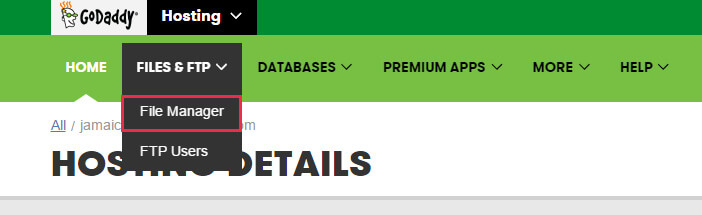
In the hosting control panel, select Files & FTP > File Manager or in Plesk simply select File Manager.
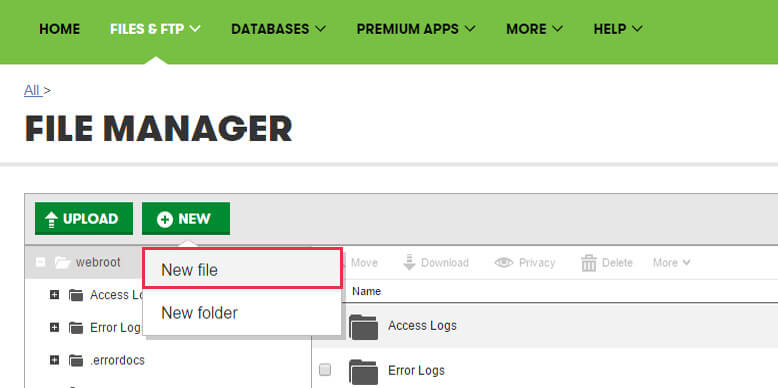
Once it’s loaded, select New > New File and type in the box .user.ini (notice the dot before the ‘user’).
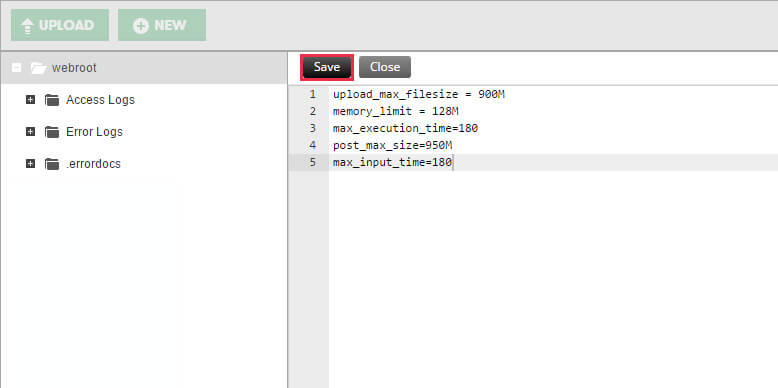
After the file is created, click it to edit it and you will be able to manage the following properties:
- upload_max_filesize
- memory_limit
- max_execution_time
- post_max_size
- max_input_time
Once you’ve added what you need, you can press ‘save‘.
Editable User.ini Properties
Below is a list and explanation of the PHP properties you can edit in your user.ini file.
Max Filesize Upload
You can use this property to set the maximum upload size of any file you upload in PHP. By default this should be 128M (which is 128MB), but you can increase it up to a maximum of 2000M (which is 2GB).
NB. If you change the max file upload size to a large number, you will also have to change the max_execution_time and max_input_time to higher values also.
upload_max_filesize = 900M |
Memory Limit
This property enables you to change the memory limit of PHP. While there is no limitation to how high you can set it, usually 128M is enough for typical usage.
memory_limit = 128M |
Max Execution Time
You can control the timeout limit in PHP using this property. The property is measured in seconds and by default the limit is 60 seconds. For example, If a script tries to update your database and it takes longer than 60 seconds, it will receive an error.
max_execution_time = 180 |
Post Max Size
This is almost exactly like the upload_max_filesize, except it handles uploads done via an HTTP POST request. This property MUST be either greater than the upload_max_filesize property or the same value as the upload_max_filesize property.
post_max_size = 950M |
Max Input Time
This is also quite similar to the max_execution_time except it handles the maximum time in seconds, a script is allowed to parse input data and file uploads (like a contact form on your website). Basically, you may not need to change this at all once you’ve already set the max_execution_time.
max_input_time = 180 |
Note: There are 2 other properties: magic_quotes_gpc and register_globals which are editable but they were deprecated as of PHP5.4. It is not recommended you enable them unless you have very old scripts which are dependent on them.
Sources – Godaddy Help, Godaddy PHP Initialization.

COMMENTS